Snake Bites in North America: What You Need to Know
While snake bites are far less common in Canada and the northern United States than in tropical regions, they do occur — particularly in rural areas, hiking trails, and campgrounds. In Canada, the Massasauga rattlesnake in Ontario and the Western rattlesnake in British Columbia and Alberta are the primary venomous species. In the United States, venomous snake bites are more common, with rattlesnakes, copperheads, cottonmouths (water moccasins), and coral snakes being the main species of concern.
Most snake bites occur when people accidentally step on or near a snake, reach into areas where snakes are resting, or attempt to handle or kill a snake. Understanding how to prevent snake bites and provide proper first aid when they occur can prevent serious complications and save lives.
Venomous vs. Non-Venomous Snake Bites
Not all snake bites involve venom. Many snakes in North America are non-venomous, and even venomous snakes sometimes deliver “dry bites” where no venom is injected. However, because it can be difficult to determine whether a bite involved venom, all snake bites should be treated as potentially serious until medical evaluation confirms otherwise.
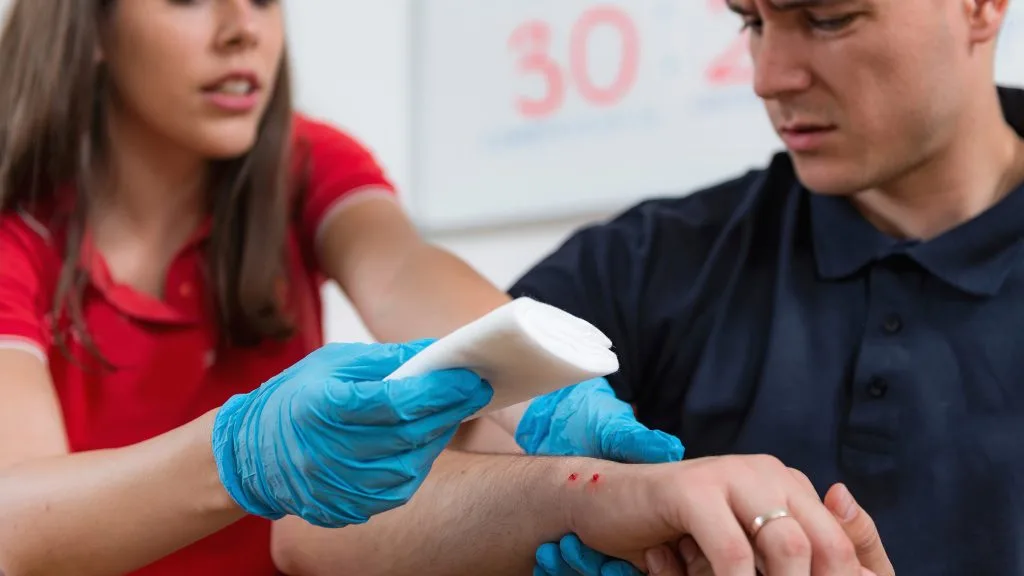
Signs that suggest a venomous bite include immediate and intense pain at the bite site, rapid swelling that spreads away from the bite, bruising and discoloration around the wound, nausea and vomiting, difficulty breathing, blurred vision, numbness or tingling, and metallic taste in the mouth. Bite marks from venomous pit vipers (rattlesnakes, copperheads, cottonmouths) typically show two distinct fang punctures, while non-venomous bites usually appear as a horseshoe-shaped pattern of smaller teeth marks.
Critical: What NOT to Do for a Snake Bite
Do NOT try to suck out the venom — this does not work and risks infection.
Do NOT apply a tourniquet — this can cause tissue death.
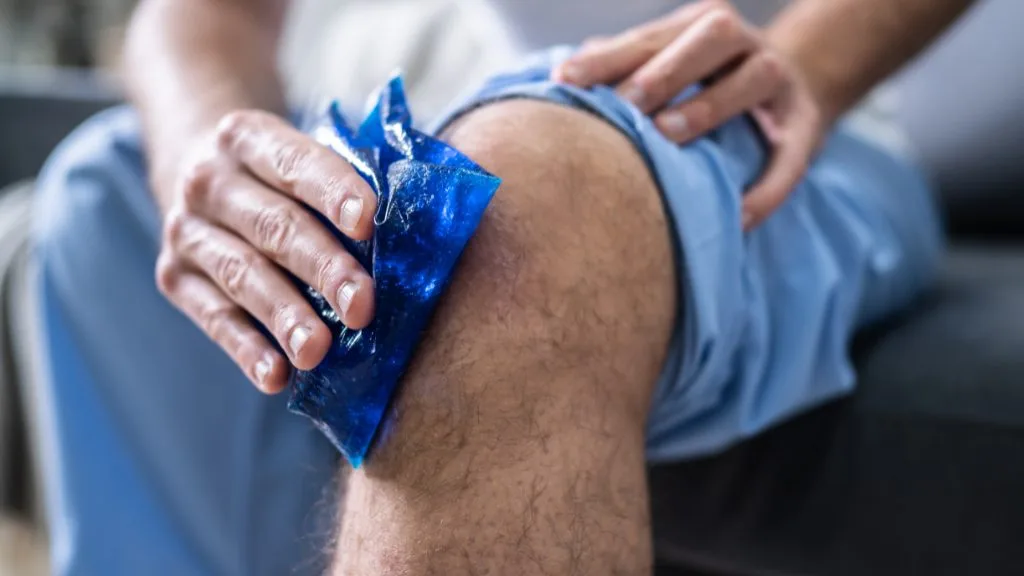
Do NOT apply ice — cold can worsen tissue damage.
Do NOT cut the wound — this increases bleeding and infection risk.
Do NOT try to catch or kill the snake — this risks additional bites.
First Aid for Snake Bites: Step-by-Step
Step 1: Move Away from the Snake
Move yourself and the victim a safe distance from the snake. Snakes can strike again if they feel threatened, and some species can strike at distances up to half their body length. Do not attempt to capture, kill, or identify the snake — this wastes valuable time and risks additional bites. If you can safely take a photo of the snake from a distance, this can help medical staff identify the species and determine appropriate treatment.
Step 2: Call 911
All suspected venomous snake bites require emergency medical treatment. Antivenom is the definitive treatment for venomous snake bites, and it is most effective when administered early. Even if the bite appears minor or the person feels fine initially, symptoms can escalate rapidly. Call 911 and arrange for the fastest transport to a hospital.
Step 3: Keep the Person Calm and Still
Anxiety and physical activity increase heart rate and blood circulation, which can spread venom through the body more quickly. Have the person sit or lie down in a comfortable position. Reassure them that most snake bites in North America are treatable, and that emergency help is on the way. Keep the bitten limb as still as possible.
Step 4: Position the Bite Below Heart Level
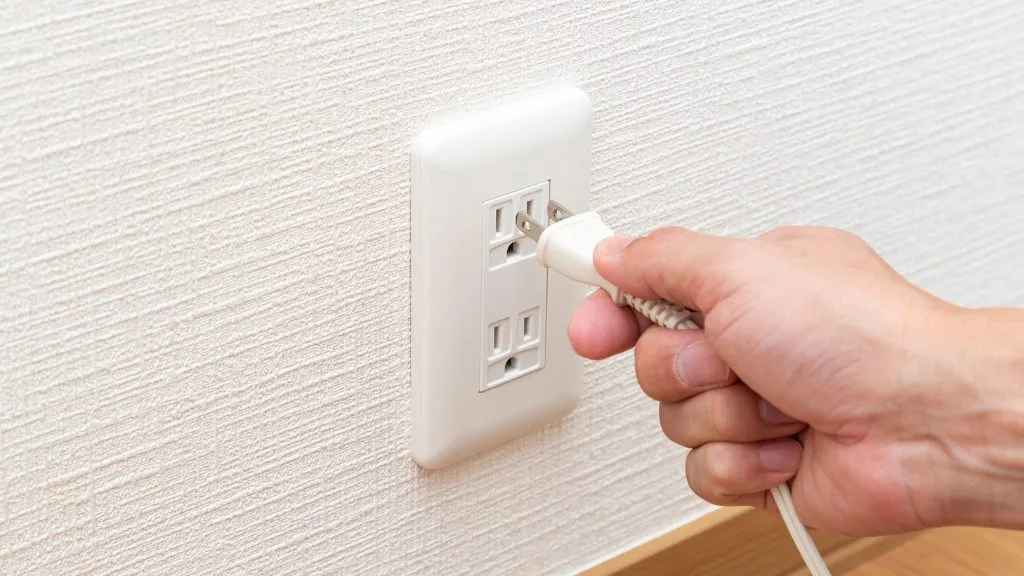
If the bite is on an arm or leg, keep it positioned at or slightly below the level of the heart. This helps slow the spread of venom through the lymphatic system. Remove any rings, watches, bracelets, or tight clothing near the bite site, as swelling can develop rapidly and these items may become constrictive.
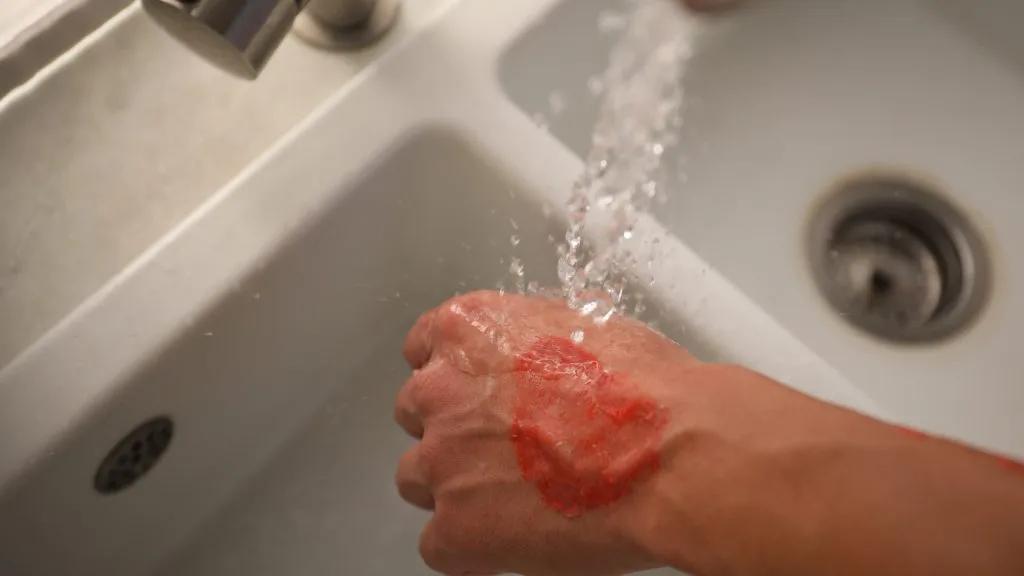
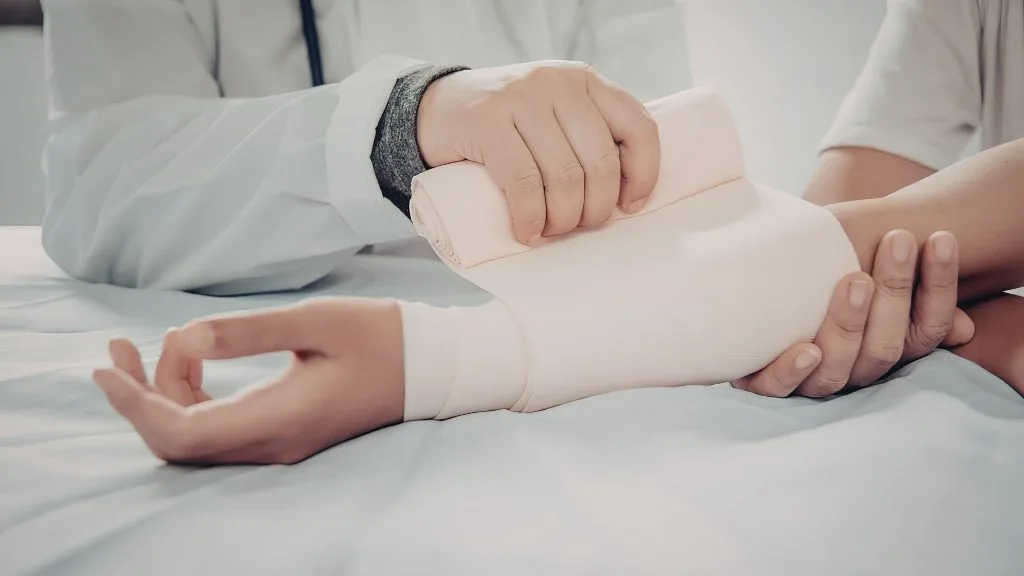
Step 5: Clean and Cover the Wound
Gently clean the bite area with soap and water if available. Cover it loosely with a clean, dry bandage. Do not apply pressure bandages or wraps over the bite — while pressure immobilization bandages are recommended for some snake species in Australia, they are not recommended for North American pit viper bites as they can worsen local tissue damage.
Step 6: Monitor for Signs of Envenomation
While waiting for emergency services, monitor the person closely. Mark the leading edge of swelling on the skin with a pen and note the time — this helps medical staff assess how quickly the venom is spreading. Watch for signs of systemic envenomation: nausea, vomiting, difficulty breathing, changes in vision, excessive sweating, and altered consciousness. If the person becomes unresponsive and stops breathing, begin CPR immediately.
Snake Bite Prevention
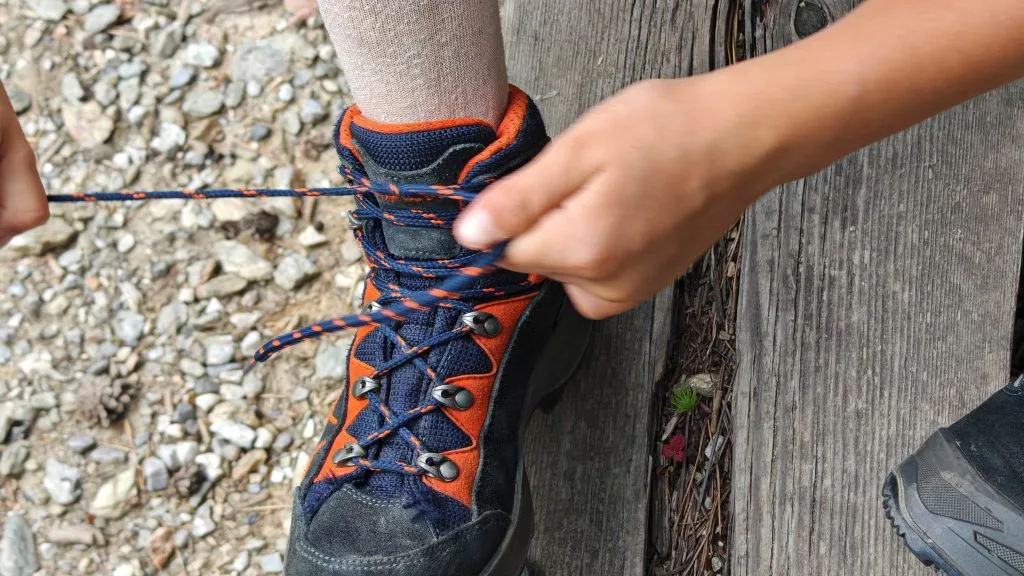
Prevention is the best strategy for avoiding snake bites. When hiking or camping in areas where snakes are present, wear sturdy boots and long pants. Stay on marked trails and avoid walking through tall grass, brush piles, and rocky areas where snakes may be resting. Use a flashlight when walking at night. Watch where you step and where you put your hands — avoid reaching under rocks, logs, or into crevices without looking first.
At camp, keep your tent zipped closed, shake out boots and clothing before putting them on, and store food securely to avoid attracting rodents (which attract snakes). If you encounter a snake, give it plenty of space and walk around it. Most snakes will avoid humans if given the chance to retreat.
Snake Bites and Pets
Dogs are frequently bitten by snakes because of their natural curiosity. If your dog is bitten, keep them as calm and still as possible, carry them if practical, and get them to a veterinarian immediately. Do not apply any first aid treatments intended for humans. Note the time of the bite and the appearance of the snake if safely possible, as this information helps the veterinarian determine treatment.
Get Wilderness First Aid Training
If you spend time outdoors — hiking, camping, or working in rural areas — first aid training is essential. A Intermediate/Standard First Aid course covers snake bites, insect stings, anaphylaxis, hypothermia, and other outdoor emergencies. Train at Coast2Coast in North York, Richmond Hill, Guelph, Windsor, or any of our 30+ locations.
Register for CPR or First Aid Training
Register today for a CPR or First Aid training course at one of our 30+ locations across Canada and the U.S. Check out our facilities and book your spot now.