The Opioid Crisis: Why Naloxone Training Matters
The opioid crisis continues to devastate communities across Canada and the United States. Tens of thousands of people die from opioid overdoses every year, and the numbers continue to climb as illicit fentanyl and other synthetic opioids contaminate the drug supply. Opioid overdoses do not only affect people with substance use disorders — accidental exposures, prescription medication errors, and contaminated substances put a wide range of people at risk.
Naloxone, commonly known by the brand name Narcan, is a medication that can rapidly reverse an opioid overdose. It is safe, effective, and increasingly available without a prescription in pharmacies across North America. Knowing how to recognize an opioid overdose and administer naloxone can save a life — and it takes just minutes to learn.
How Opioid Overdoses Happen
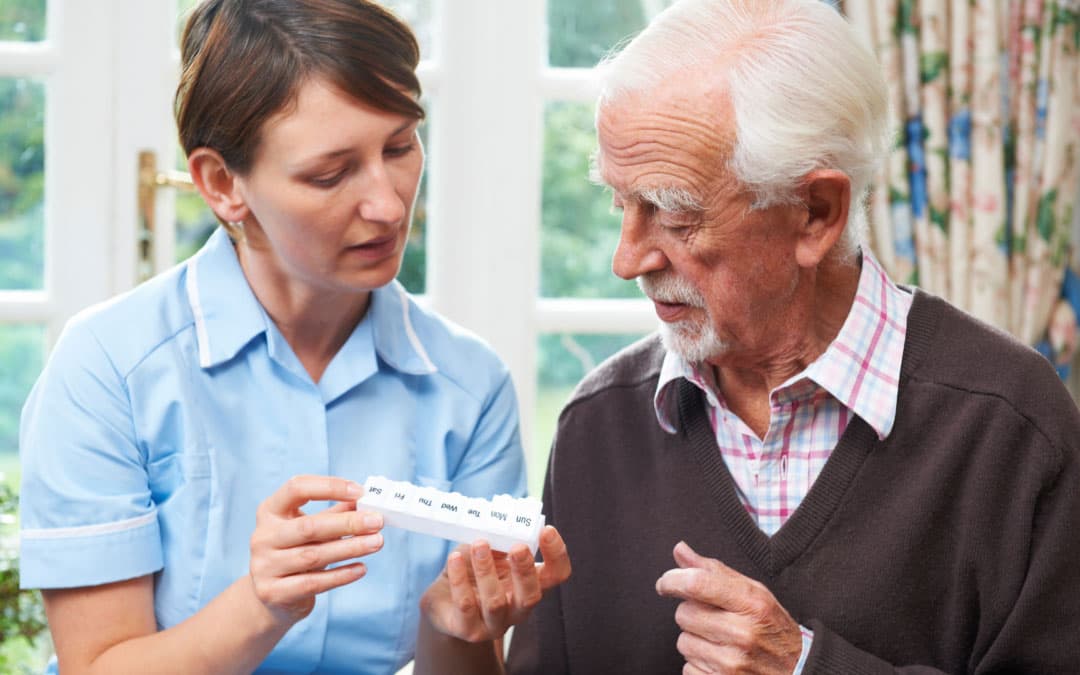
Opioids work by binding to receptors in the brain that control pain and breathing. When someone takes too much of an opioid — whether it is a prescription painkiller like oxycodone, an illicit drug like heroin, or a synthetic opioid like fentanyl — these receptors become overwhelmed. The brain’s signals to breathe slow down or stop entirely, leading to respiratory failure and, if untreated, death.
Fentanyl has made the overdose crisis significantly more dangerous because it is 50 to 100 times more potent than morphine. A dose as small as two milligrams — roughly the size of a few grains of salt — can be lethal. Fentanyl is frequently mixed into other drugs without the user’s knowledge, meaning that even people who do not intentionally use opioids can be exposed to a fatal dose.
Risk factors for opioid overdose include using opioids after a period of abstinence (such as after leaving treatment or jail), mixing opioids with alcohol or benzodiazepines, using drugs alone, and using drugs from an unknown source. Understanding these risk factors can help you identify situations where someone may be at higher risk.
Free Naloxone Kits Are Available
In most Canadian provinces and many U.S. states, naloxone kits are available for free at pharmacies without a prescription. Ask your local pharmacist about obtaining a kit and getting trained on how to use it.
Recognizing an Opioid Overdose
Knowing the signs of an opioid overdose allows you to act quickly. The key symptoms to watch for include:
Slow, shallow, or stopped breathing: This is the most dangerous sign. Normal breathing is 12 to 20 breaths per minute. During an overdose, breathing may slow to fewer than 8 breaths per minute or stop completely. You may hear gurgling, choking, or snoring sounds.
Pinpoint pupils: The person’s pupils will be extremely small, even in dim lighting. This is a hallmark sign of opioid intoxication.
Loss of consciousness: The person cannot be woken up by shouting, shaking, or a sternal rub (knuckling the breastbone firmly).
Blue or gray skin: Lack of oxygen causes the lips, fingertips, and face to turn blue or grayish. This discoloration, called cyanosis, indicates that the body is not getting enough oxygen.
Limp body and slow heartbeat: The person’s muscles may be completely relaxed and their pulse may be weak or difficult to find.
How to Respond: Step-by-Step Opioid Overdose First Aid
Step 1: Check for Responsiveness
Try to wake the person by calling their name loudly, shaking their shoulders, and performing a sternal rub. If the person does not respond, treat the situation as an emergency.
Step 2: Call 911
Call 911 immediately. Good Samaritan laws in all Canadian provinces and most U.S. states protect people who call for help during a drug overdose from being charged with simple possession. Do not let fear of legal consequences delay your call — the person’s life depends on getting help quickly.
Step 3: Administer Naloxone
Naloxone comes in two forms: a nasal spray and an injectable solution. Both are effective when used correctly.
Nasal spray (Narcan): Tilt the person’s head back slightly. Insert the nozzle into one nostril and press the plunger firmly to deliver the full dose. The medication is absorbed through the nasal membranes and begins working within two to five minutes.
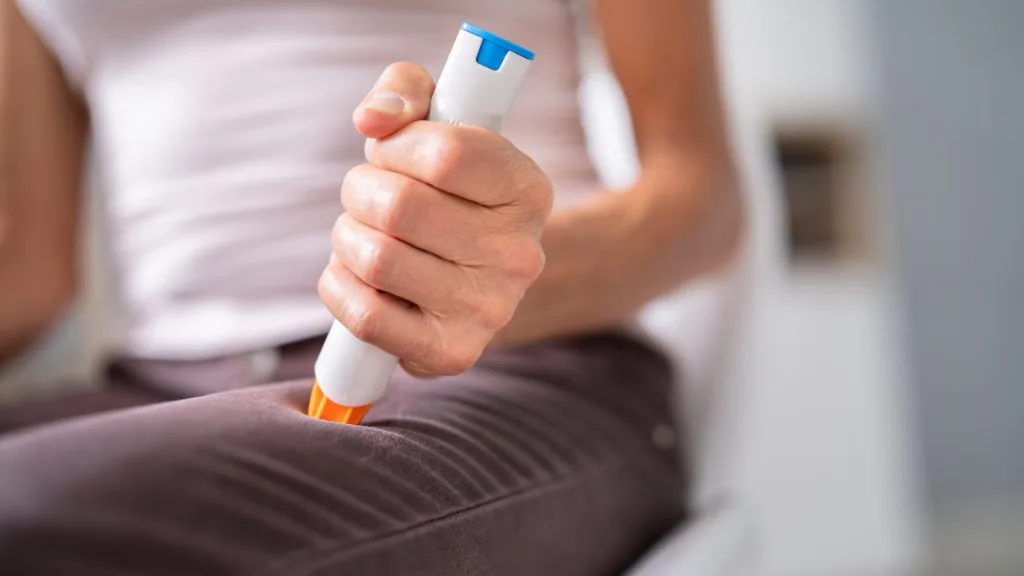
Injectable naloxone: Draw up the naloxone into the syringe as directed in the kit. Inject it into a large muscle — the outer thigh or upper arm works best. You can inject through clothing if needed.
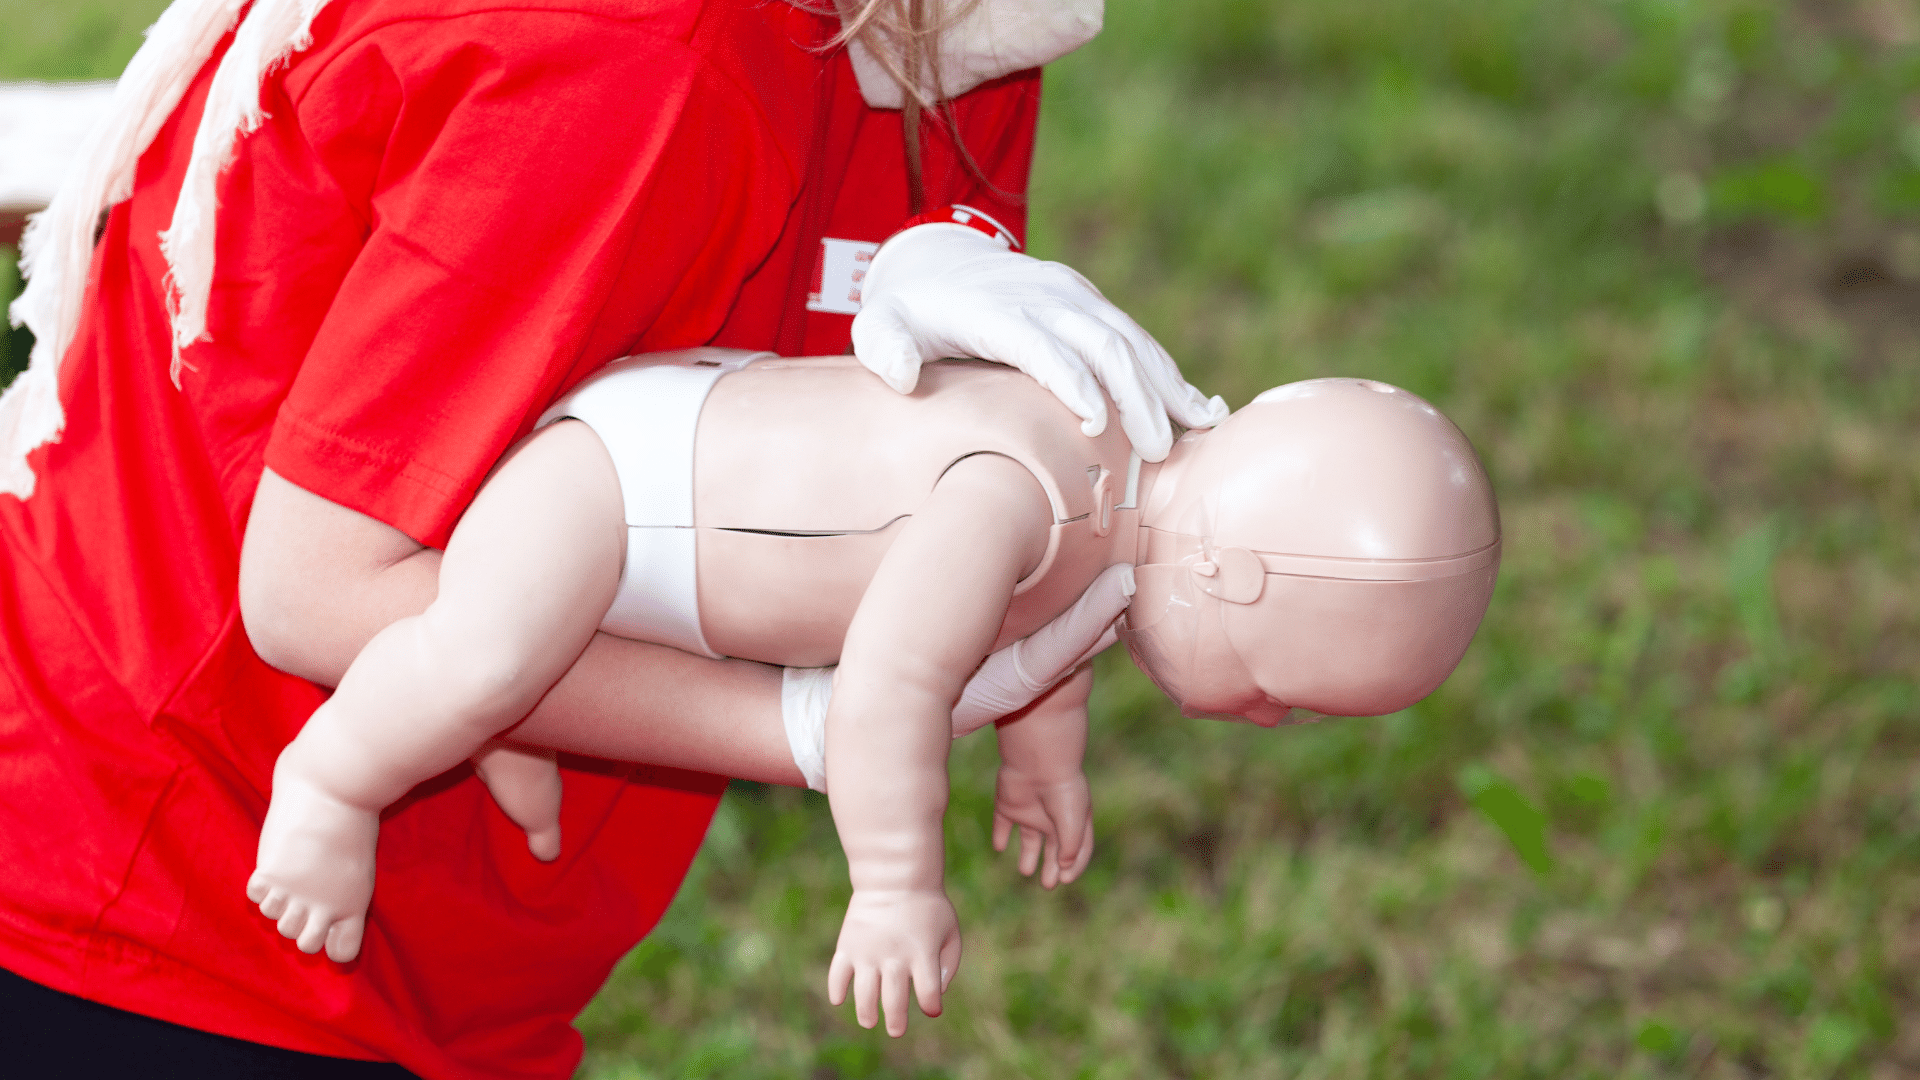
Step 4: Perform Rescue Breathing or CPR
While waiting for naloxone to take effect, support the person’s breathing. Tilt their head back, lift their chin, and give one rescue breath every five seconds. Watch for the chest to rise with each breath. If the person has no pulse, begin full CPR with chest compressions at a rate of 100 to 120 per minute.
Step 5: Monitor and Give a Second Dose if Needed
If there is no improvement after two to three minutes, administer a second dose of naloxone. Fentanyl and other potent synthetic opioids may require multiple doses because of their strength. Continue rescue breathing or CPR until the person begins breathing on their own or emergency services arrive.
Step 6: Place in Recovery Position
Once the person begins breathing on their own, place them in the recovery position (on their side) to prevent choking if they vomit. Stay with them until paramedics arrive.
What to Expect After Naloxone Is Administered
Naloxone works by blocking opioid receptors in the brain, effectively reversing the effects of the opioid. When it takes effect, the person may wake up suddenly and may experience withdrawal symptoms including agitation, confusion, nausea, vomiting, body aches, and rapid heart rate.
It is important to stay calm and reassure the person. Explain what happened and that emergency services are on the way. Some people may become agitated or combative when they wake up from an overdose reversal — this is a normal physiological response, not a personal reaction. Keep yourself safe and give the person space if needed, but do not leave them alone.
Naloxone wears off in 30 to 90 minutes, while most opioids last much longer. This means the person can slip back into overdose after the naloxone wears off. This is why it is critical to call 911 even if the person appears to recover after naloxone — they need medical monitoring for several hours.
Where to Get Naloxone
Naloxone availability has expanded significantly in recent years. In Canada, naloxone kits are available for free without a prescription at most pharmacies in every province. Many community organizations, harm reduction programs, and public health offices also distribute kits and provide training.
In the United States, Narcan nasal spray is available over the counter at pharmacies nationwide. Many states also have standing orders that allow pharmacists to dispense naloxone without an individual prescription. The cost varies, but many insurance plans cover it, and community programs often provide it at no cost.
Reducing Stigma and Saving Lives
One of the biggest barriers to responding effectively to an opioid overdose is stigma. Many people hesitate to call 911 or administer naloxone because of shame, fear, or judgment associated with drug use. But opioid overdose is a medical emergency, and the person experiencing it deserves the same urgent response as someone having a heart attack or an allergic reaction.
Carrying naloxone does not mean you condone drug use — it means you are prepared to save a life. First responders, teachers, parents, community workers, and anyone who might encounter someone at risk of overdose should consider carrying naloxone and knowing how to use it.
Get Trained to Save Lives
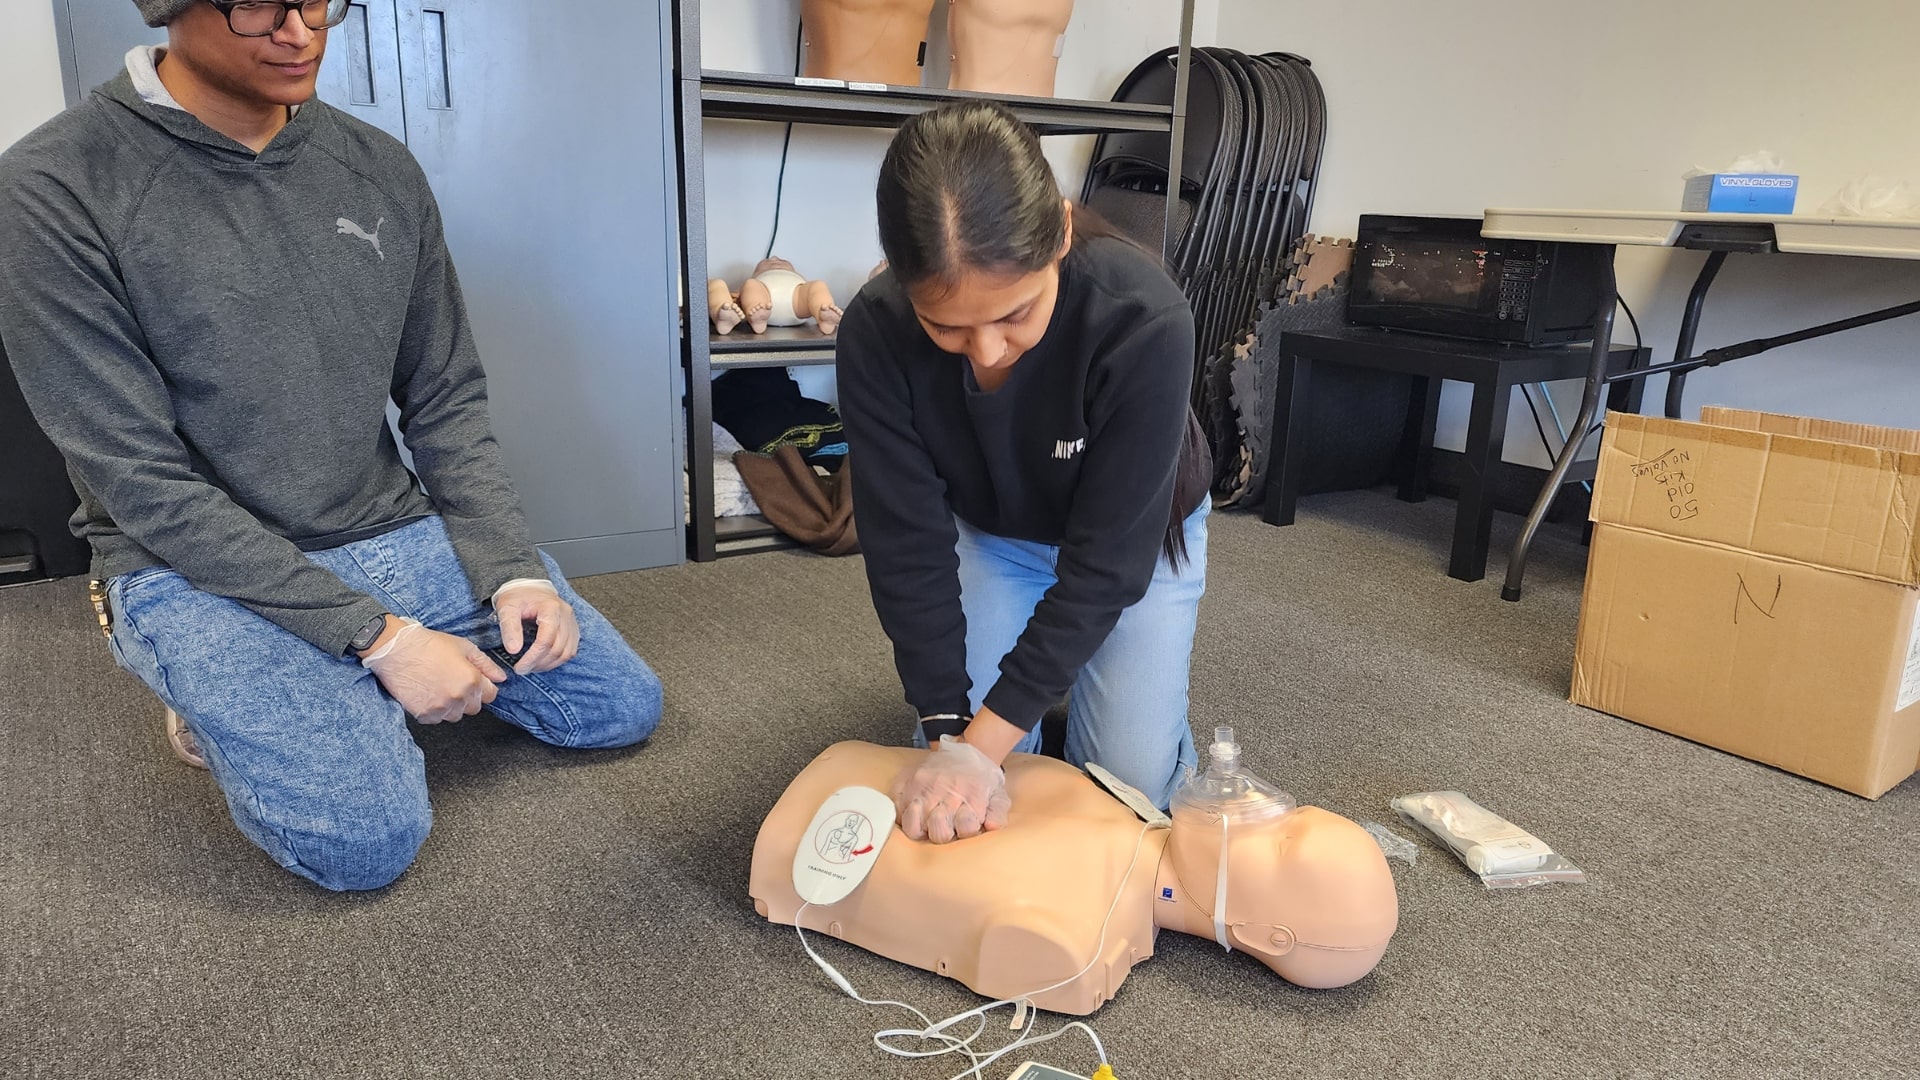
A comprehensive Intermediate/Standard First Aid course covers overdose response alongside other critical skills like CPR, AED use, bleeding control, and choking. At Coast2Coast First Aid in Toronto, Vaughan, Oakville, Markham, and 30+ other locations, our certified instructors provide hands-on training that prepares you to respond confidently in any emergency.
Register for CPR or First Aid Training
Register today for a CPR or First Aid training course at one of our 30+ locations across Canada and the U.S. Check out our facilities and book your spot now.
About the Author
Ashkon Pourheidary, B.Sc. (Hons) — Co-Founder, Coast2Coast First Aid & Aquatics
Ashkon has been a certified First Aid and CPR instructor since 2011 and an Instructor Trainer since 2013. He is also a certified Emergency Medical Responder (EMR) instructor, Psychological First Aid instructor, and BLS (Basic Life Support) instructor. Ashkon graduated with honours with a Bachelor of Science in Neuroscience from the University of Toronto in 2016. As co-founder of Coast2Coast First Aid & Aquatics, he has helped grow the organization to over 30 locations across Canada and into the United States. Ashkon has served on the First Aid Council for the Canadian Red Cross. He spends his time coaching the team of over 100 instructors at Coast2Coast to ensure that students training at Coast2Coast locations receive the best training experience. Connect on LinkedIn