

Why Knowing How to Stop Bleeding Is a Critical First Aid Skill
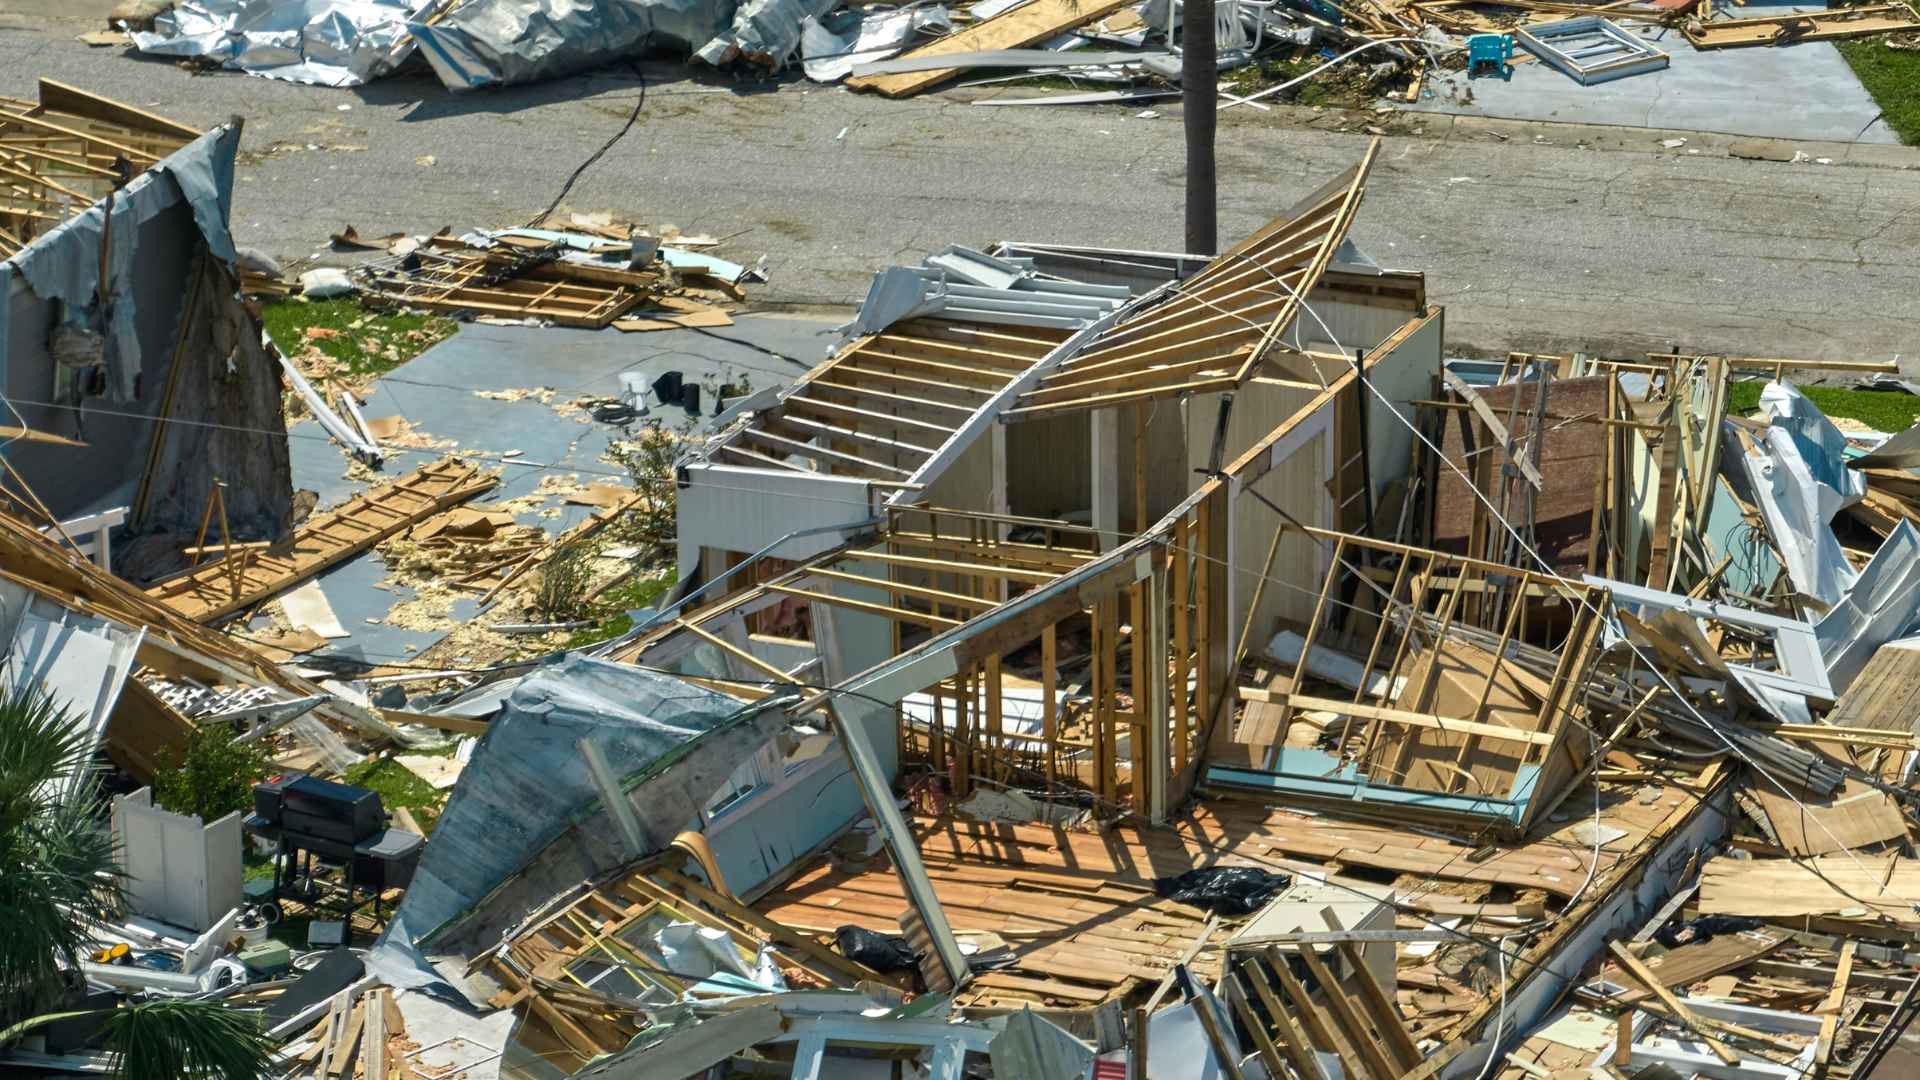
Uncontrolled bleeding is one of the leading causes of preventable death in trauma situations worldwide. Whether caused by a workplace accident, a kitchen mishap, a motor vehicle collision, or any other injury, severe bleeding can lead to shock and death in as little as three to five minutes if not properly managed. This makes the ability to control bleeding one of the most important skills you can possess — and a core component of every first aid certification course offered in Canada.
The human body contains approximately five litres of blood, and losing even 20 percent of that volume can result in hypovolemic shock — a life-threatening condition where the heart cannot pump enough blood to sustain vital organs. Understanding how to recognize different types of bleeding, apply appropriate pressure, and use tourniquets and other techniques when necessary gives you the power to keep a bleeding victim alive until emergency medical services arrive. These skills are not just for healthcare professionals — they are for everyone.
Types of Bleeding: External and Internal
External Bleeding
External bleeding is visible and occurs when blood escapes the body through a break in the skin. There are three types of external bleeding, classified by the type of blood vessel that is damaged:
Arterial bleeding is the most serious and most difficult to control. Blood from arteries is bright red (oxygen-rich) and spurts rhythmically with each heartbeat. Because arteries carry blood at high pressure, arterial bleeding can result in massive blood loss very quickly. Arterial bleeding requires immediate, aggressive intervention.
Venous bleeding involves blood flowing steadily from a damaged vein. Venous blood is darker red because it carries less oxygen. While venous bleeding can be severe, it is generally easier to control than arterial bleeding because veins carry blood at lower pressure. However, large veins can still produce dangerous blood loss if not managed promptly.
Capillary bleeding is the most common and least serious type. It occurs when the tiny capillaries near the skin’s surface are damaged, producing a slow ooze of blood. Most minor cuts and scrapes involve capillary bleeding, which typically stops on its own within a few minutes as the body’s natural clotting mechanisms take effect.
Internal Bleeding
Internal bleeding occurs when blood vessels inside the body are damaged, causing blood to collect in body cavities or tissues. Internal bleeding cannot be seen directly but may be suspected based on signs such as bruising, swelling, abdominal rigidity, signs of shock (pale skin, rapid pulse, confusion), blood in vomit, urine, or stool, and pain in the chest or abdomen. Internal bleeding is a medical emergency that requires immediate hospital treatment. If you suspect internal bleeding, call 911 immediately and keep the person still, warm, and monitored until help arrives.
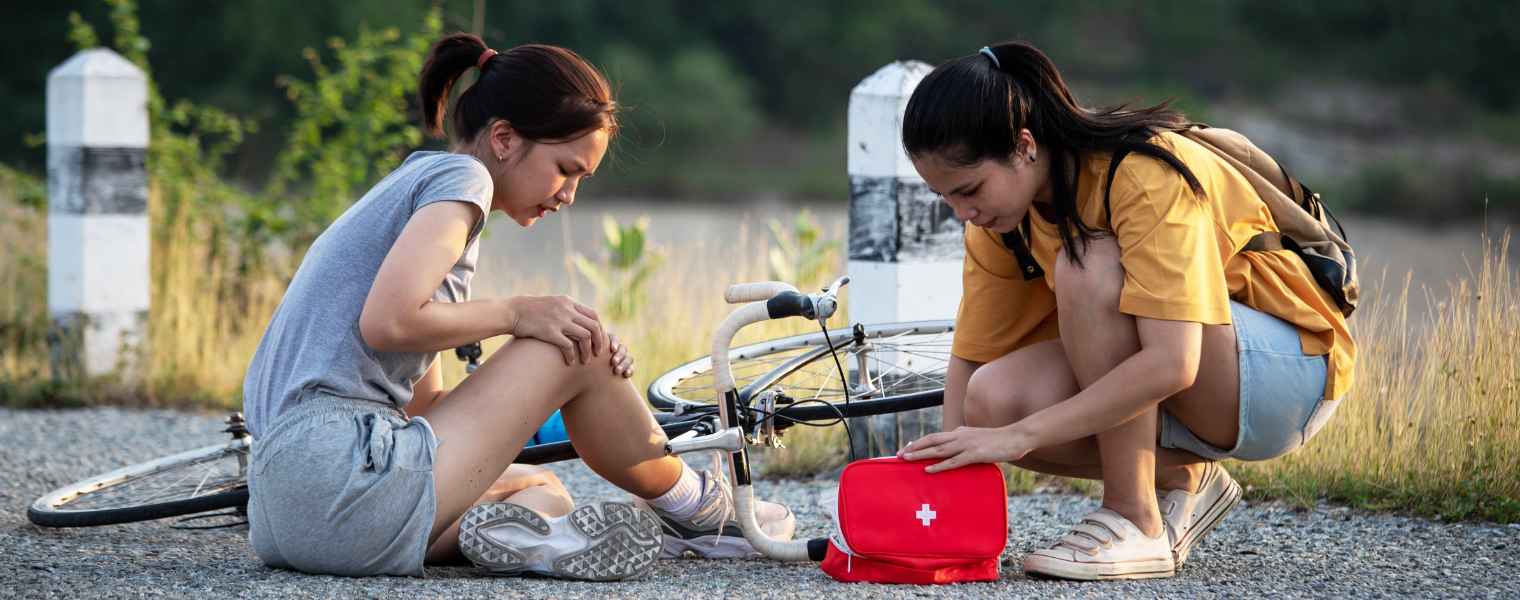
Step-by-Step Guide to Controlling External Bleeding
Step 1: Ensure Scene Safety
Before touching a bleeding victim, quickly assess the scene for hazards. If the injury was caused by machinery, ensure it is turned off. If the scene involves violence, ensure the threat has passed. Put on disposable gloves if available. Your safety must always come first — an injured rescuer cannot help anyone.
Step 2: Call for Help
For any serious bleeding, call 911 or have someone else make the call while you begin providing first aid. For minor bleeding that you can control, medical attention may still be needed for wound cleaning, stitching, or tetanus prevention.
Applying Emergency Care for Life-Threatening Bleeding
In any emergency care situation involving life-threatening blood loss, your primary goal is to bridge the gap until paramedics arrive. If a sterile dressing isn’t immediately available, you can use a clean cloth folded into a thick pad to apply firm, direct pressure to the wound. Should the first layer become blood-soaked, do not remove it, as this can disrupt the clotting process; instead, place a second clean cloth directly on top and maintain pressure.
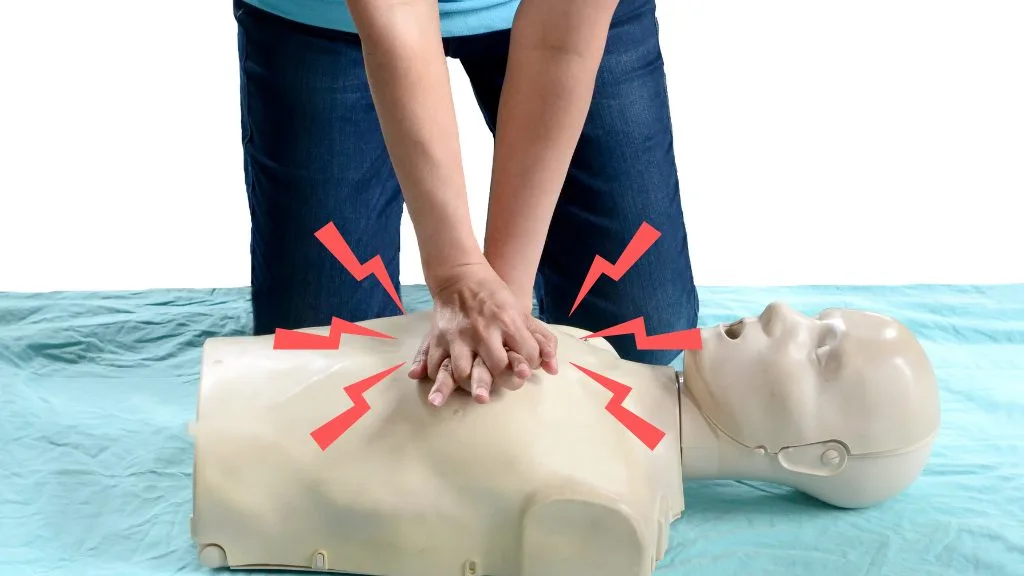
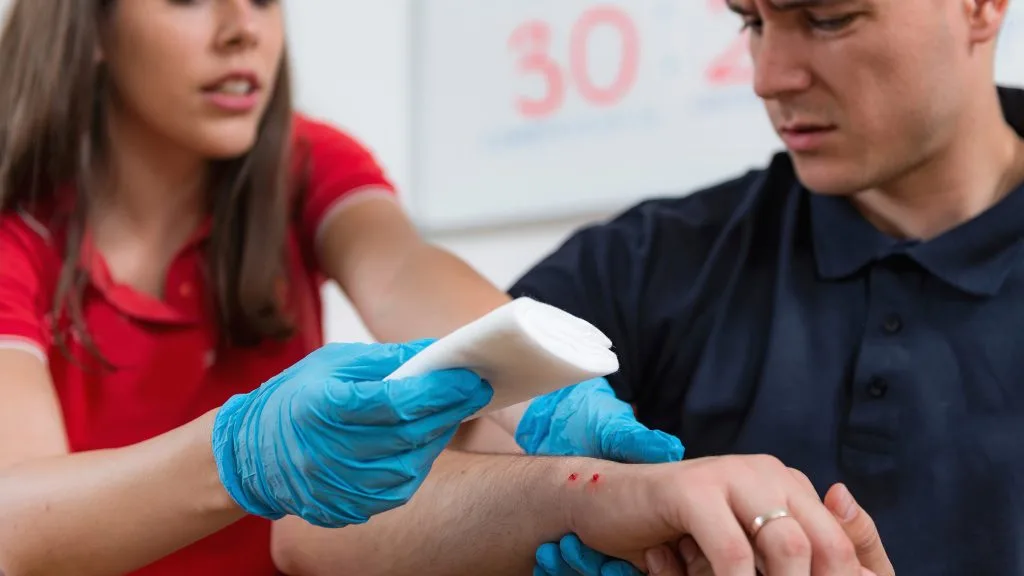
Step 3: Apply Direct Pressure
Direct pressure is the most effective first-line treatment for most external bleeding. Place a clean cloth, sterile gauze, or even a piece of clothing directly over the wound and press firmly. Use the flat of your hand to distribute pressure evenly over the wound. Do not lift the dressing to check if bleeding has stopped — this disrupts clot formation. If blood soaks through the first dressing, add more material on top without removing the original layer. Maintain firm, continuous pressure for at least 10 to 15 minutes.
Step 4: Elevate the Injured Area
If possible and if the injury allows, elevate the bleeding limb above the level of the heart. Gravity helps reduce blood flow to the injured area, which can slow bleeding and support clot formation. Continue applying direct pressure while elevating the limb. Do not elevate if you suspect a fracture or spinal injury, as movement could cause additional damage.
Step 5: Apply a Pressure Bandage
Once bleeding has slowed or stopped, secure the dressing in place with a bandage wrapped firmly around the wound. The bandage should be tight enough to maintain pressure but not so tight that it cuts off circulation entirely. Check the fingers or toes beyond the bandage periodically for signs of impaired circulation such as numbness, tingling, coolness, or colour changes.
Watch: How to Control Bleeding
When to Use a Tourniquet
A tourniquet is a device used to compress blood vessels in a limb to stop severe, life-threatening bleeding that cannot be controlled with direct pressure alone. Modern medical guidelines have evolved significantly regarding tourniquet use, and they are now recognized as life-saving devices that should be applied without hesitation when severe limb bleeding is present. Here are the key principles:
Apply a tourniquet when direct pressure fails to control severe bleeding from an arm or leg, when a limb has been amputated or severely crushed, when the wound is too large to cover with direct pressure, or when you need to manage multiple bleeding victims simultaneously. Place the tourniquet 5 to 7 centimetres above the wound, never directly on a joint. Tighten it until the bleeding stops completely. Write the time of application on the tourniquet or on the person’s skin. Do not remove the tourniquet once it is applied — this should be done only by medical professionals at a hospital.
Wound Packing for Deep Wounds
For deep wounds in areas where a tourniquet cannot be applied — such as the neck, armpit, shoulder, or groin — wound packing is the appropriate technique. This involves firmly packing clean material directly into the wound cavity and then applying pressure on top. Use gauze, clean cloth, or any available clean material. Pack the wound tightly, filling the entire cavity, and then hold firm pressure over the packed wound. While wound packing may seem aggressive, it is a proven technique that controls bleeding from deep wounds by creating internal pressure against damaged blood vessels.
Recognizing and Managing Shock
Significant blood loss can lead to shock, a life-threatening condition that occurs when the body’s organs do not receive enough blood flow. Recognizing shock early and managing it appropriately is a critical part of bleeding control:
Signs of shock include pale, cool, and clammy skin, rapid and weak pulse, rapid and shallow breathing, confusion or altered consciousness, dizziness and weakness, nausea and thirst, and anxiety or restlessness. To manage shock, keep the person lying down and elevate their legs approximately 30 centimetres if their injuries allow. Cover them with a blanket to maintain body temperature. Reassure them calmly and monitor their breathing and consciousness. Do not give them anything to eat or drink. Continue bleeding control measures and wait for emergency services.
Special Bleeding Situations
Nosebleeds
Have the person sit up and lean slightly forward to prevent blood from running down the throat. Pinch the soft part of the nose firmly for 10 to 15 minutes without releasing to check. Apply a cold compress to the bridge of the nose. Seek medical attention if the nosebleed lasts longer than 20 minutes or was caused by trauma.
Embedded Objects
If an object is embedded in a wound, do not remove it. The object may be controlling bleeding by plugging the damaged blood vessel. Instead, apply padding around the object to stabilize it and apply pressure around — not on — the object. Bandage around the object and seek emergency medical care immediately.
The Importance of Hands-On Training
Reading about bleeding control is valuable, but nothing replaces hands-on practice. In a first aid certification course, you will practice applying direct pressure, using tourniquets, packing wounds, and managing simulated bleeding scenarios under the guidance of experienced instructors. This practice builds the muscle memory and confidence needed to perform these skills under the extreme stress of a real emergency.
Advanced courses such as Emergency Medical Responder training provide even more in-depth trauma management skills. For workplaces, group first aid training ensures that multiple employees are prepared to respond to bleeding emergencies, creating a safer environment for everyone.
Learn to Save a Life — Get First Aid Certified
Master bleeding control, CPR, and other critical emergency skills with a Canadian Red Cross First Aid course from Coast2Coast First Aid and Aquatics.


No comment yet, add your voice below!